Pages

Showing posts with label Crafts. Show all posts

Friday, September 1, 2017

Post card display

My brother-in-law and his wife love to travel. Many years ago, he started sending up post cards from his vacations. I have kept them in a photo box over the years, but I thought it would be nice to display them.

For another project/event, a purchased an old window frame from an antique store. I accidentally broke the glass pane inside and thought it was a lost cause. But then I thought I could attach chicken wire to it and hang post cards on it!
The window frame from Spouses Night Out, Goodfellow AFB, TX theme

That idea came to me over a year ago and I finally completed the project!


Saturday, May 31, 2014

Sister Visit

This week my sister, Delaney, came out to visit. It was nice to see her and to have our first house guest. She flew into the bay area to spend a couple of days with a friend and then I met up with them in Napa. It sounds so fancy to meet someone in Napa, but I was a little disappointed in the part of Napa I saw. There was a lot of road construction and even more traffic. Ugh! I will have to give it another try.

Since Napa is so expensive, we actually stayed the night in Vacaville which was about 30 minutes outside of Napa. We checked out their outlet mall, which was a let-down and had some dinner.

The next day we grabbed breakfast at a local spot, Joe's Creekside Cafe. Afterward, we visited the Jelly Belly Factory in Fairfield, CA. You can tour the factory and get samples of jelly beans. They also had a wine and chocolate tasting that we participated in. Yummy!


Jelly Belly artwork

Our options for the tasting

The winner

The next day we spent time in Roseville for lunch and pottery painting. We also walked around the mall.
Our pieces


And yesterday we were planning on hiking. Right before we were about to leave the power went off expectantly. Therefore, I could not open the garage door to leave. We thought about walking down to another trail but the only way out was blocked by a couple firetrucks and police cars. I guess there was a fire. On the way back, we realized there is a fruit tree in a yard down the street and saw a deer napping in a flower bed. We came back to the house and played Monopoly until the power came back on. Then we drove up to Grass Valley for manicures and a snack. I went with a fun bold hot pink on my nails...perfect for summer!

Now I'm ready for more visitors!

Saturday, May 24, 2014

Paint Party

As a military wife, there is always something going on. It is like being back in college and having Alpha Omega socials. I love it! This past Thursday night, our group had a painting party. I heard about these types of events a few years ago when we lived in South Carolina but I have never had an opportunity to go. I have heard how much fun they are. I am so glad I finally had a chance to experience it for myself.

Because Memorial Day is coming up and we're all affiliated with the military, we painted an American flag. It was a lot of fun because it involved some mixed media. Plus I just love being crafty.

Ladies from my squadron
The whole group
The guy next to me was familiar with my hometown, which was fun at first. But then he kept poking fun at me. This was the first time I had ever met him so I wasn't a fan. But I think that is just his personality.

Monday, May 5, 2014

Air Force Love

A while back, I saw a cute graphic on Pinterest which incorporated the Air Force (AF) logo. I knew I had to recreate it for some purpose, but at the time I did not have a place for it.

Source
 Fast forward to the new house, I found the perfect spot for it!


My AF Love sign was super easy to make. I found a font that I loved for the letters; I used Playdate which I downloaded for free some time ago. Then I transferred it (probably the hard way) to my wood board and used paint pens for the color. It took me less than 30 minutes from start to finish.


I love the display with my WWII poster and the flag. My brother-in-law got us the flag when he was on one of his past deployments.

Tuesday, February 18, 2014

Mini hat

My annual get-together with my college sorority sisters is THIS weekend! I am making the long journey from California this year and I am not looking forward to a long afternoon/evening in the air. But I will get to see my friends and my real sisters while in town, so it should be worth it.

Each year there is a brunch and the theme for this year's event is hats. I own baseball caps and that is it. I figured wearing a baseball cap to a brunch would not be very cute. And being unemployed at the moment I did not want to go out an buy a hat to wear once. Pinterest to the rescue! I found a tutorial for a fun little hat that I can pin in my hair. The tutorial and pattern are on FleeceFun.com.


If you are doing the no-sew option, the directions called for spray adhesive. I did not have any, so I used scrapbook adhesive. I didn't know if it would work, but it worked out alright. The tutorial also calls for fleece, but I used regular fabric.

I realized after I finished that my middle section is upside down. Ever since I have considered making a new one, but have not done so yet. It still looks like a hat and I would probably be the only one to know. The hat isn't perfect, but it is good enough and it was FREE! I already had all the supplies I needed.

Monday, February 10, 2014

Necklace making

If you follow my blog, you might remember my monogram necklace post. In that post I mentioned making an Alpha Omega necklace with the same kit. I finally got around to it! The tutorial for this kit is so easy to follow. You can whip out necklaces so quickly.

I used my Silhouette to cut out the Alpha and Omega symbols. I have never cut anything so tiny so I wasn't sure if it would work. But it turned out perfectly!

I will be raffling off this necklace at our annual Alpha Omega Alumni Weekend, so I'll probably have to make another one for myself.

I still have a few more pieces in the kit so I have to think of a few more necklace ideas.

Thursday, January 30, 2014

Finally finished!

Way back in February (almost a year ago...wow!), I set out some goals to accomplish while Charles was off at training (The Long Morrow). I did not accomplish as much as I wanted to, but I am happy to report that I finally finished one of those projects...my t-shirt blanket!

The front features t-shirts from college, including some of my Alpha Omega shirts. Each of those shirts reminds me of a specific time and place in my life. I love having those memories!

The back features some of Charles' shirts that he was willing to part with. He has a very large t-shirt collection. And I mean literally a whole dresser full of t-shirts. Originally the back was going to be polka dot fabric in various colors. Now I have to figure out what to do with that fabric.


I am happy with my t-shirt blanket, but I probably did it all wrong according to experienced blanket/quilt makers. With that said, if you have a desire to make your own just do it! You can find lots of tutorials on Pinterest. My friend, Jenilyn, over at Grits and Giggles also has a quilt tutorial she posted recently.


Friday, January 10, 2014

Race Bib Display

Now that Charles is an avid runner, he has amassed quite a few race bibs. I knew he needed a way to display them. I first visited Etsy because I was thinking about just buying one. I found several that I kind of liked, but I could not find the perfect one. I often get an idea in my head and cannot find exactly what I am imagining. Then I decided that I could just make one! It was pretty easy.

What you will need:
- piece of wood. Mine was purchased from Hobby Lobby and measures 12x24. I'm not sure how thick it is, but you'll probably want one thicker.
- chalk paint
- wooden letters
- paint for the wooden letters
- wood glue
- hooks
- hanging accessory

Paint your board with several layers of chalkboard paint.

Paint your wooden letters. I chose the word RUN. If you browse the bib displays on Etsy you can get some other word ideas. Instead of wood letters you could use vinyl or hand paint your word(s).

Glue the letters to your dried chalkboard.

Figure out the spacing for the bibs. Most of Charles' bibs matched. The ones that had wider or narrower holes were re-punched so I would not have to use multiple pairs of hooks.

Screw the hooks into the board. My board was a little thin so we could not screw them all the way in. It worked out fine, but if you are particular you will want to purchase a thicker piece of wood.

Attach the hanging accessory to the back. I picked the kind that looks like a saw. I have no idea the official terminology for those.

I used chalkboard paint so Charles can record his fastest times for each kind of race. We have not bought any chalk yet, so mine is simulated in the picture above.

He received the ribbon display as a gift. And the two shadow boxes display items from his first two marathons.


Wednesday, January 8, 2014

DIY Button Necklace

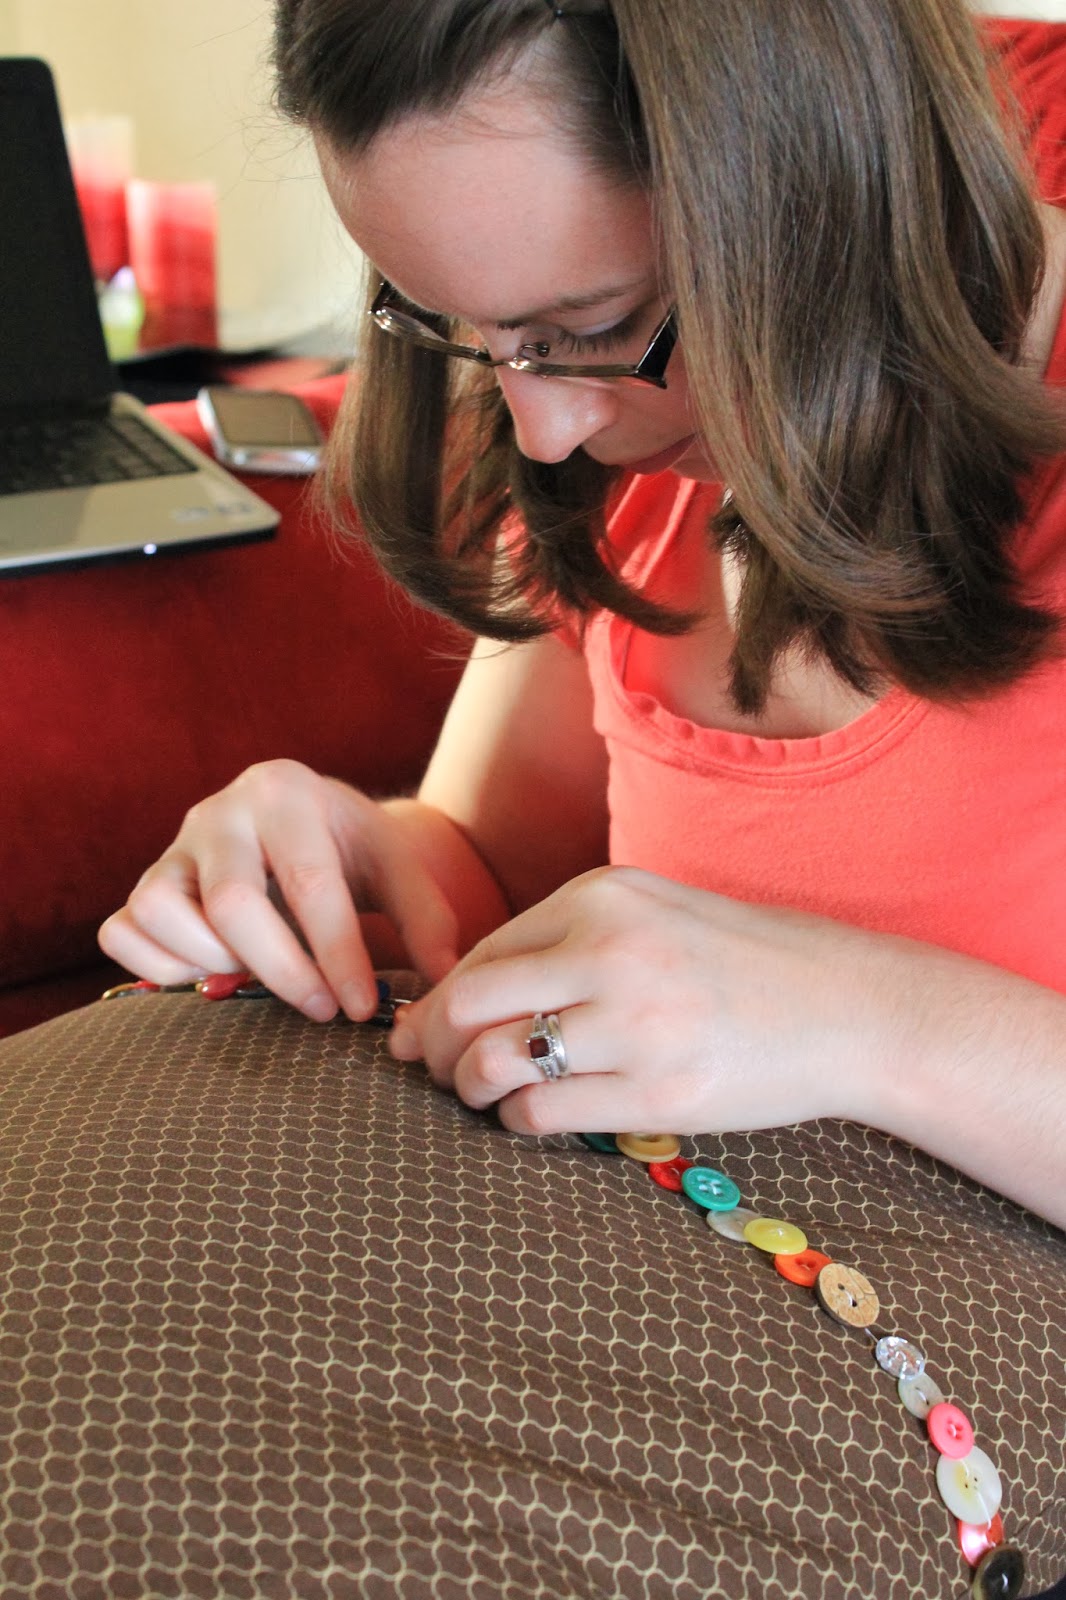
If you did not know already, I love buttons! I cannot quite explain it, but I love looking at all the different kinds and colors. I have some in jars sitting on my coffee table right now. I even received a bag of buttons for Christmas and was thrilled!

I saw this necklace on Etsy and fell in love. I was very close to buying it several times. Then I turned to Pinterest for a tutorial and found a great one. Why buy when you can DIY?

The Littlest Big Spoon Etsy store
Here is what you'll need to make your very own button necklace:
- Buttons (of course)
- Necklace closure. I went with the toggle variety.
- String, wire or yarn. I used quilting thread. (If I make another one I might go with a thicker string.)
- This tutorial


Sunday, March 31, 2013

Monogram Necklace

I finally stopped at Joann Fabrics to get some elastic so I can start making my t-shirt dress. But they were closed for Easter. I should have guessed.

Instead of making a t-shirt dress, I made a Monogram Necklace today. For my birthday, my in-laws gave me a really neat kit where you can make 6 necklaces. I'm sure it was an Etsy find, but you can visit the website at www.anniehowes.com. I downloaded the tutorial a while ago and finally decided what I wanted to make first. After visiting South Carolina back in December and then in February, I was feeling a lack of monogram in my life. This necklace should help alleviate that a little.

Sorry for the bad cell phone picture

The tutorial was super easy to follow and now I have to decide what to do with the remaining 5 necklaces. The kit came with 1 silver square (what I used for this project), 1 silver circle, 1 bronze square, 1 bronze circle, 1 gold square and 1 gold circle. I will probably do an Alpha Omega necklace with one of the gold necklaces.

Monday, March 4, 2013

Project #1

My Long Morrow projects have started. I have been wanting a new "wreath" for my front door. I just took down the Valentine's Day one, but the next one I have is for spring/early summer. With the weather here still cold and snowy, it didn't feel right to have a spring item on my door.

I headed to Michael's and decided to buy a letter T to decorate with buttons! I adore buttons! I have no explanation, but I just love to collect them. I have a fairly sizable collection and love to add to it when I can.


I hot glued away and came up with this. I love it!


Sunday, January 6, 2013

Wooly balls

About a year ago, I switched from dryer sheets to wool dryer balls. My cat, Calvin, loves to find the wooly balls that make it out of the dryer after doing laundry. This Christmas, I found some wooly balls with jingle bells inside on Etsy. I thought they would be the perfect present for Calvin. I ordered them and both Calvin and Hobbes thoroughly enjoyed them. They liked them so much that, for the most part, the wooly jingle balls are destroyed. Two of them lost their jingles and all of them I've had to sew up some holes.


I found a tutorial for dryer wool balls so I thought I would give it a shot. I bought some yarn at Michael's and got to work. I used this tutorial at Home for Hire--DIY Wool Dryer Balls. I think I ended up using the same yarn for some of the balls.

So far, both cats seem to enjoy the homemade version. Mine are not as jingly as the ones I bought on Etsy. I may have to experiment with another way of including the jingle bells. The way I did these was to thread 3 bells on a piece of wool string. Then I wrapped wool around the set of bells to make the ball shape. I think some of the wool strands got inside the bells. It must interfere with the jingle. You can tell there is something inside because it makes a slight noise, but not quite what I was hoping for.
I made two sizes--small with bells inside and large like dryer balls. In this picture, Calvin is playing with the large one and the smaller one is sitting nearby.


Sunday, December 2, 2012

Christmas Decorating Complete

We have finished our Christmas decorating! We picked out our tree and decorated it yesterday. I also finished my Christmas pillows and added something new on my "shelf-thing." Take a look...
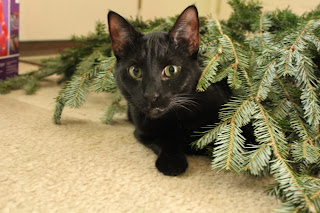
We had to trim a few branches off the bottom so our tree would fit in the stand. The kitties enjoyed crawling under them.


Unwrapping all the ornaments. It took some time.

Two of our new ornaments. Charles bought these in Iceland. Our travel tradition is to buy an ornament from each place we visit. We have quite a collection of unique ornaments. It is always a fun way to remember all the places we have been.


Love these German houses! I grew up with these--my mom had a collection that started when we lived in Germany. My brother-in-law gave each of these to me.


My new Christmas pillows! I love the fabric on the top most. It is so cute and whimsical.

My new additions---the frame in the back just has some red and white polka dot fabric inside. The frame in front has my own creation of a Christmas printable.

Close up of my printable. The verse is a good reminder of what Christmas is really about. 

Our Mexican nativity.


The tree with a new star

Eli! We got him in Georgia at an apple festival.